The weekend of the wedding, because of other commitments, we could not leave home until quite late, meaning we did not reach our destination outside of Atlanta until somewhere around 3:00 in the morning. That was a lot of time spent on dark roads bordered by woods on both sides. Deer live in those woods; we could not help but hope that none of them were related to the guy who plowed into us last November.

Thankfully, this trip was deer-free. I was looking forward to this wedding for quite a while, and on the trip back, we had stops planned at the peach farm and the sausage place and maybe the nut place. I had my knitting and my iPad and I was going to relax if it killed me.
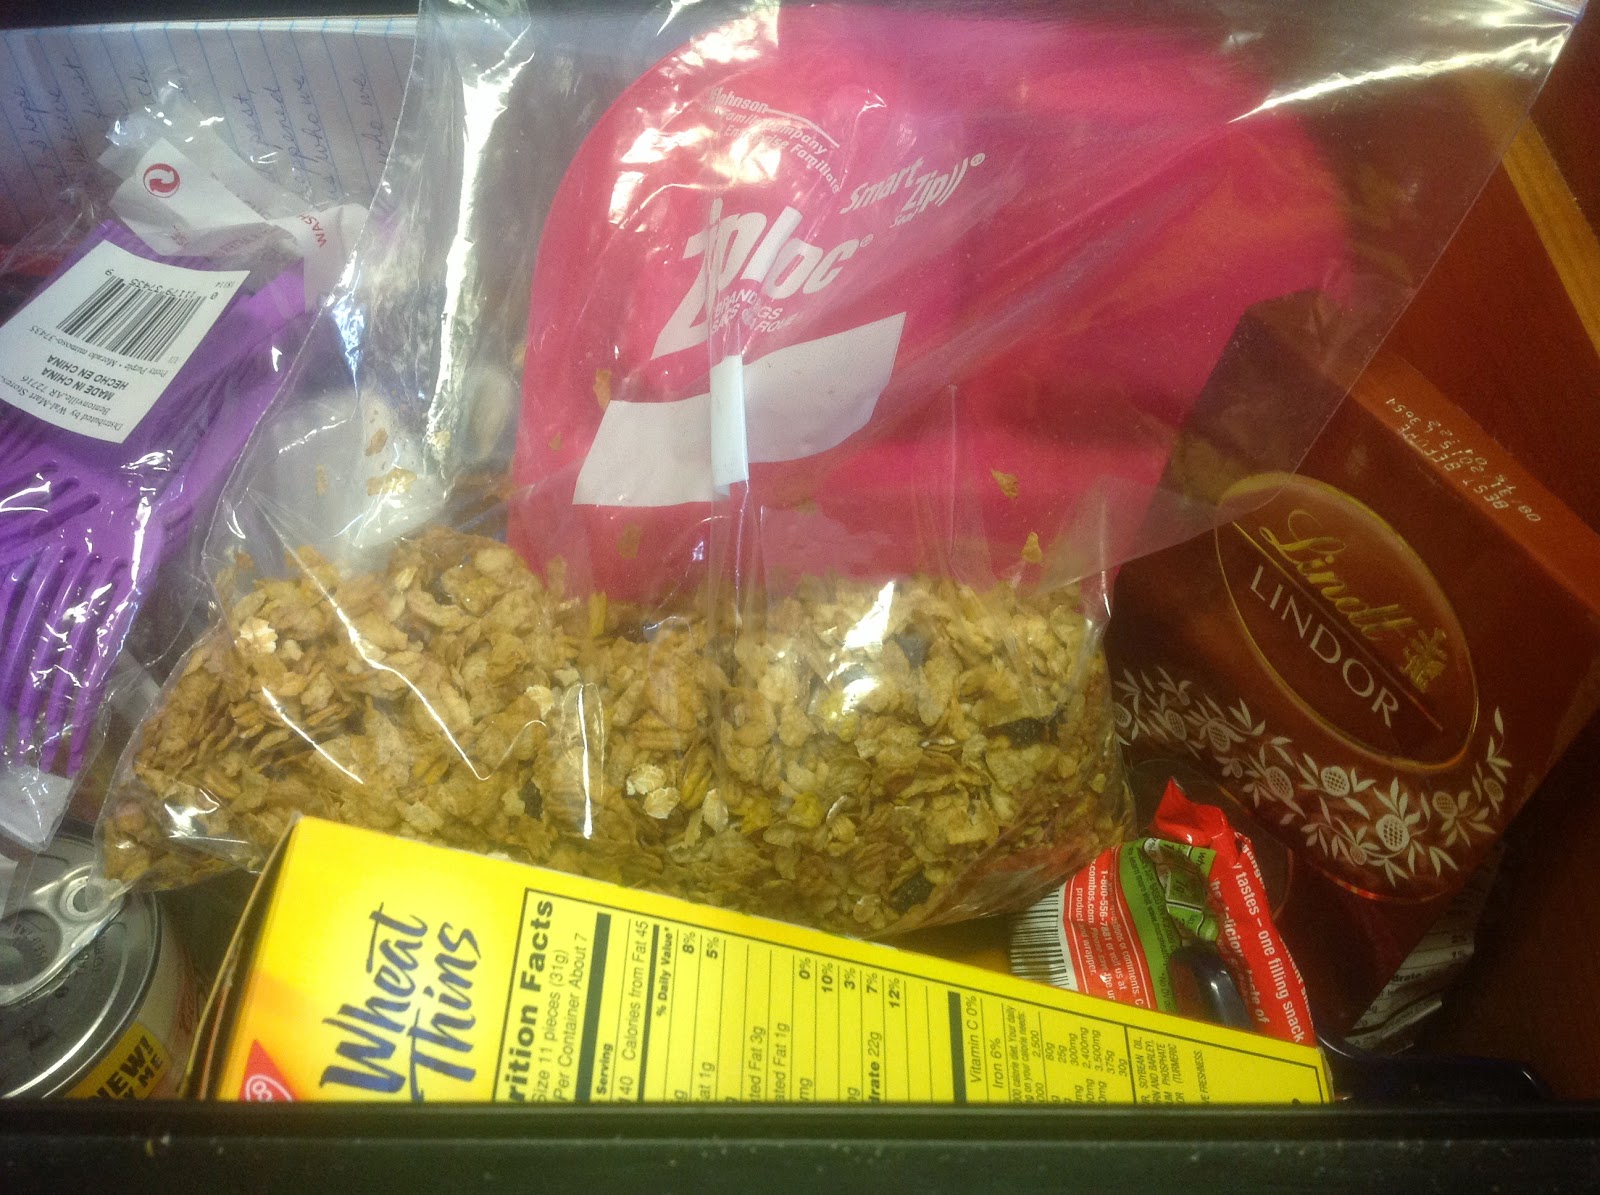
Eating on the way up the interstate, dinner was a chicken salad sandwich for Rob, and a cup of seafood chowder for me, straight from Wawa. That reminded me that I haven't made soup in a couple of weeks. I like to keep soup in the fridge the way my grandmother liked to keep a container of tuna fish salad. Nobody was ever going to go hungry in her house, no matter what the hour or the circumstances. There is no better snack, in my opinion, than solid albacore tuna mixed with a lot of Hellman's mayonnaise piled on a piece of matzo. Unfortunately, unlike my grandma I'm not real diligent about the tuna (or the soup, for that matter) and in lieu of tuna, I've been known to turn to chocolate for my 3 AM snacks.
This wasn't a cooking weekend for me, which didn't stop me from planning what I was going to cook when I get back. Like chicken soup, with tiny chicken (or turkey) meatballs. With a decidedly Mexican flavor, offering a good excuse to eat more sour cream.
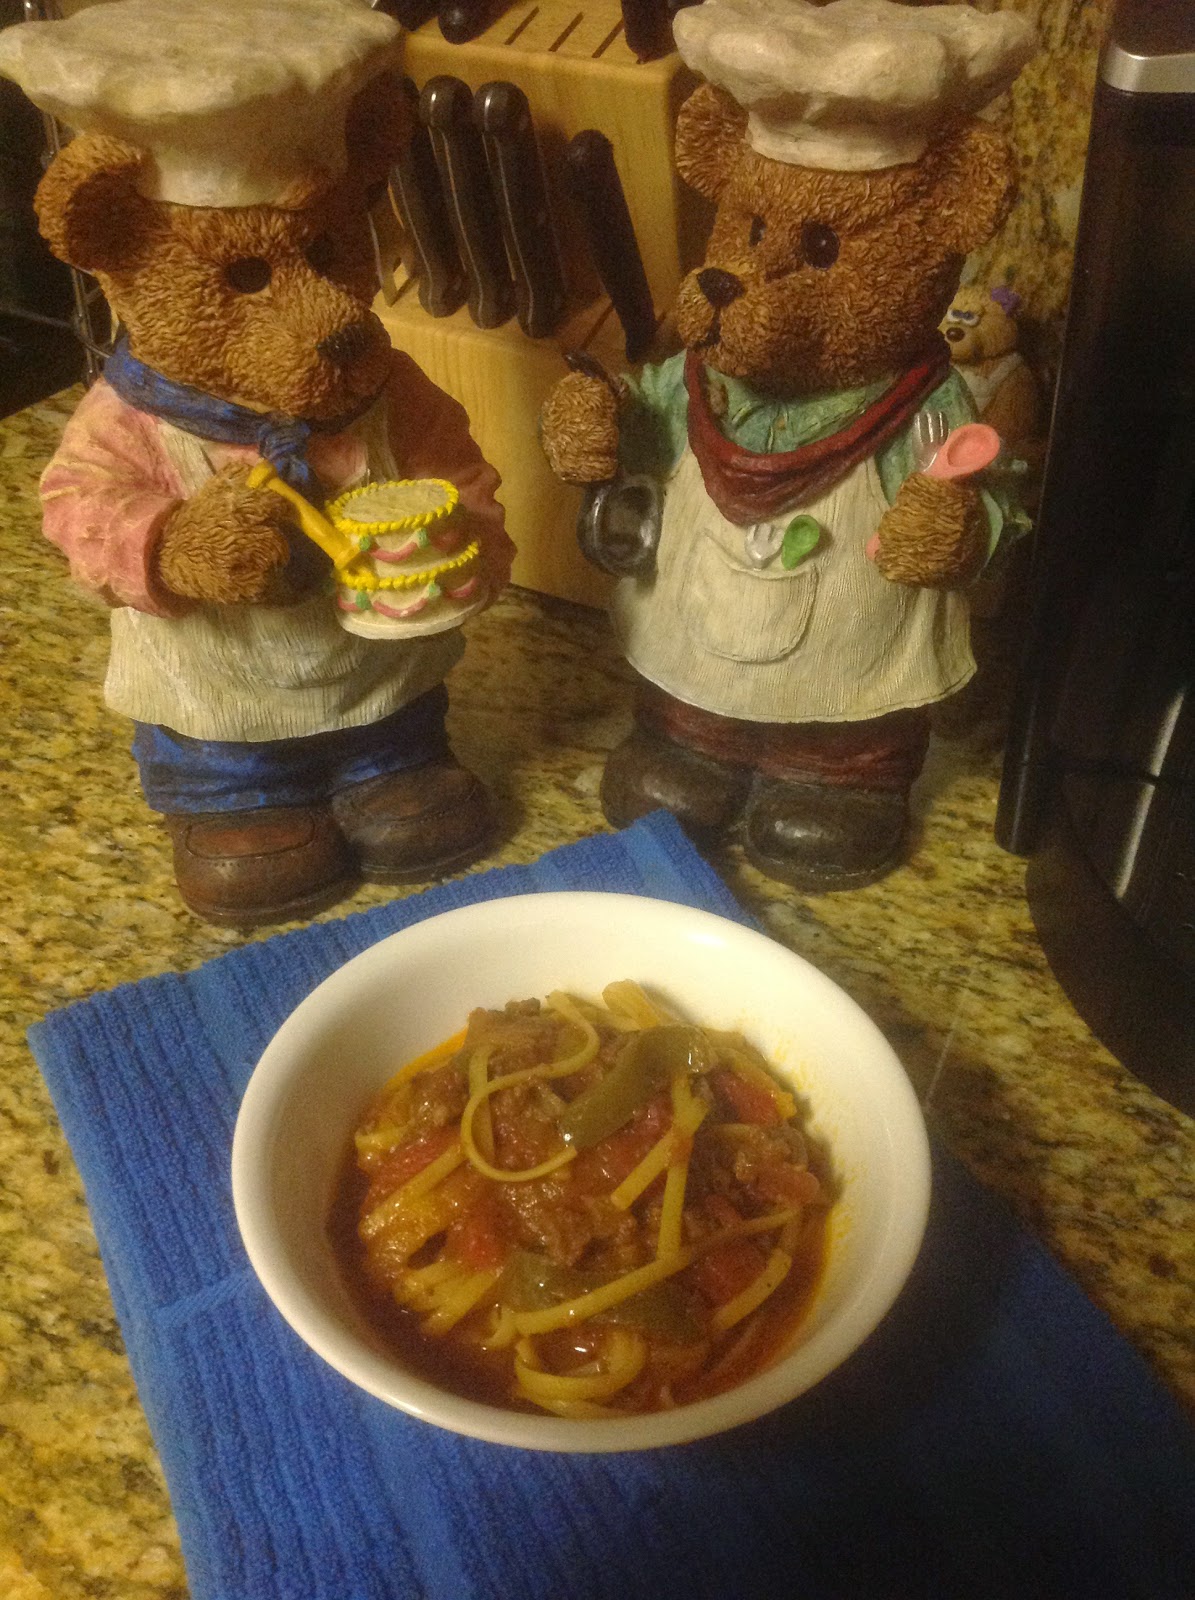
Mexican Chicken Meatball Enchilada Soup
1 pound ground chicken (not all white meat)
1 egg
1/2 cup seasoned bread crumbs
2 teaspoons kosher salt
1 teaspoon black pepper
1 teaspoon granulated garlic
1/2 teaspoon McCormick's Montreal Chicken Seasoning
1/2 teaspoon cumin
1 tablespoon dried cilantro leaves
2 tablespoons grated Pecorino Romano cheese
1-32 oz. carton chicken broth
1-32 oz. carton chicken stock
2-10 oz. cans mild green chile enchilada sauce
1 cup diced fresh tomato
1 large onion, diced
1 large carrot, chopped
1 celery stalk, with leaves, chopped
In a medium pot, bring the chicken broth to a steady simmer. Combine the first 10 ingredients and make very small meatballs, not more than an inch across. Place the meatballs into the simmering broth and poach gently. When they are all poached - there should be no more pink color showing - add the enchilada sauce, and the tomato, and turn off the heat.
In a large pot, heat a small amount of corn oil, and add the onion, carrot, and celery. Season with a little salt, pepper, granulated garlic, and a pinch of sugar, and saute' until the onions are just beginning to color. Add the chicken stock and bring up the heat. Then very carefully transfer the meatballs and cooking liquid from the medium pot into the large pot, and bring to a simmer. Adjust the seasoning. I used salt, pepper, garlic, a small amount of cumin, and a sprinkle of the cilantro leaves. Cook the soup partially covered for about 15 more minutes.
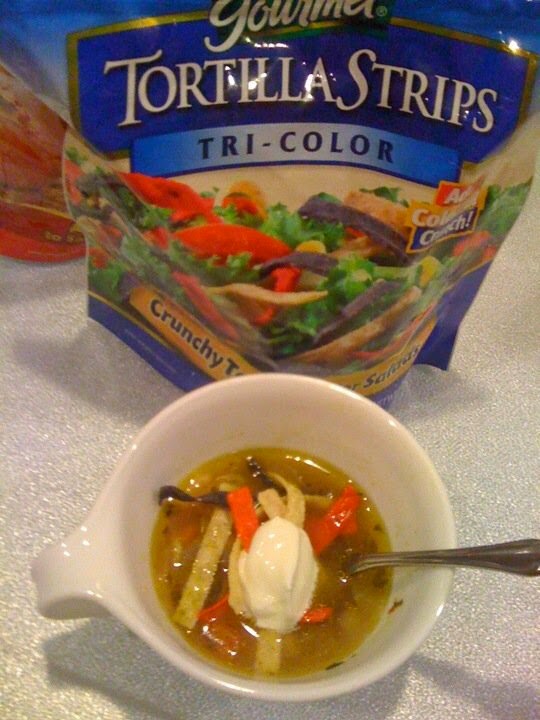
There is a small amount of heat from the 'mild' enchilada sauce. I recommend that you stir in a spoon of sour cream into your soup bowl, and garnish with tortilla strips. This soup is both light and filling. Please enjoy.
Serves 8-10